Course: Ethical Hacking
If you want to start installing Kali Linux with virtual machine, you have to open a virtual machine application first. In this tutorial, I am going to use VirtualBox as the virtual machine. To create a new virtual machine, click new on the top left corner, and it will be shown like the picture below:
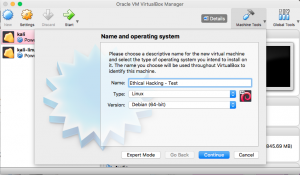
Enter the Name for the kali linux virtual machine, for this tutorial, I entered “Ethical Hacking – Test” for the name, then select Linux as the type, and for the version, it can be Debian (32-bit) or Debian (64-bit), for this tutorial, I use Debian (64-bit), it based on the kali linux iso file that you installed on the kali linux official website. Then click continue.
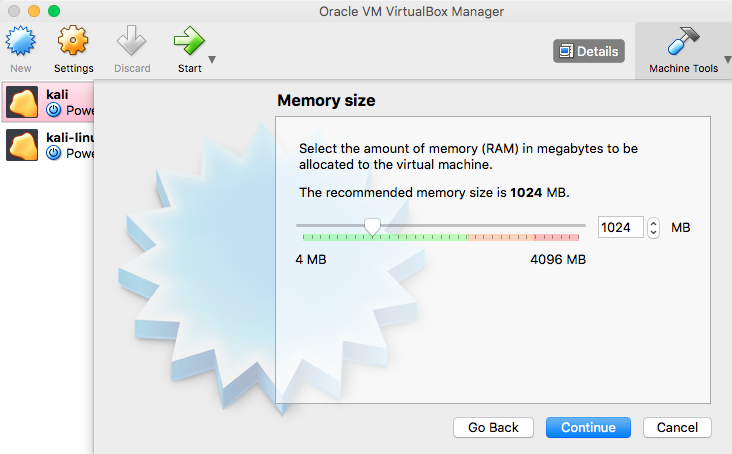
After you clicked the continue button, it will shown the new page for configuring the memory size of your Kali Linux virtual machine, as you can see like the picture above. The recommended memory size is 1024 MB, but it is up to you, if you want add more memory size or not before clicking the continue button.
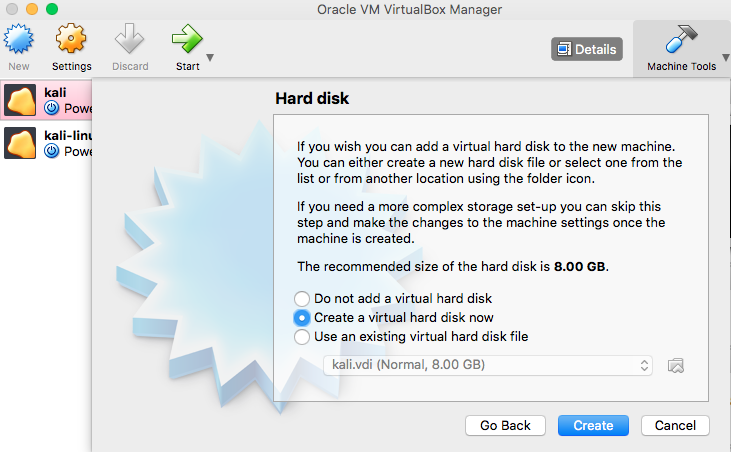
After you clicked the continue button, it will shown a new page for creating a virtual hard drive as you can see in the picture above. then select “Create a virtual hard disk now” and click the continue button.

After clicking the continue button, it will shown a new page as you can see above. on the hard disk file type window, select VDI (VirtualBox Disk Image), and click the continue button.
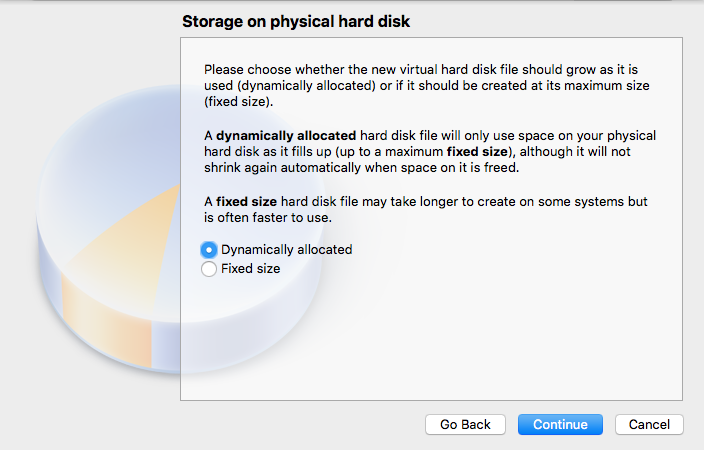
after clicking the continue button, you will see a new page like in the picture above. Choose Dynamically allocated button, and click the continue button.
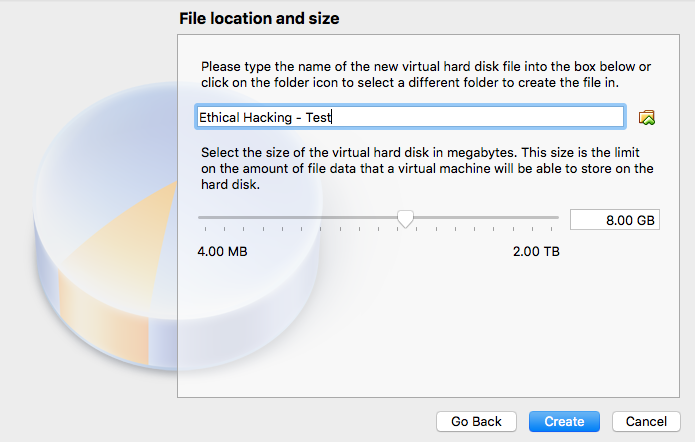
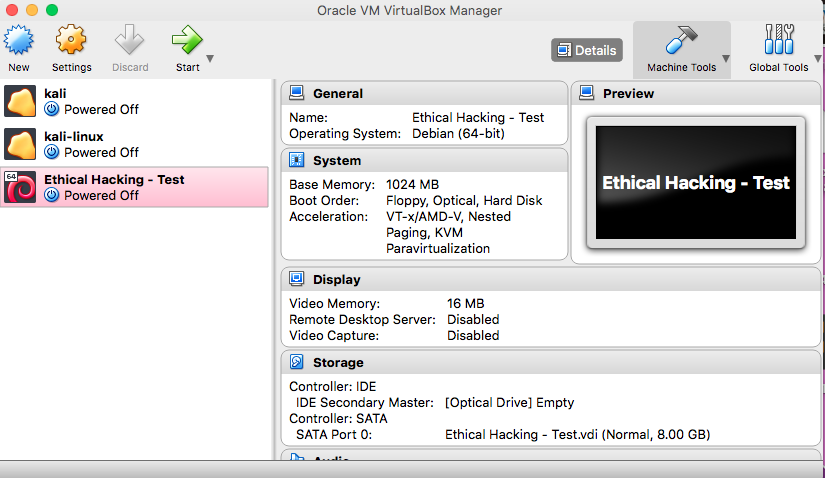
After clicking the continue button, you will see a new page like in the picture above. You can choose where you want to put the file on the virtual hard disk drive (.vdi) in and you can choose the size of the virtual hard disk. You don’t have to change the file location. You need to change the size of the virtual disk up to 15.00 GB or more. Then, click create and you are finished creating the virtual machine. The name of your virtual machine will be shown on the main page of VirtualBox when you are done doing the step. It will shown on the left side, as shown on the picture below.
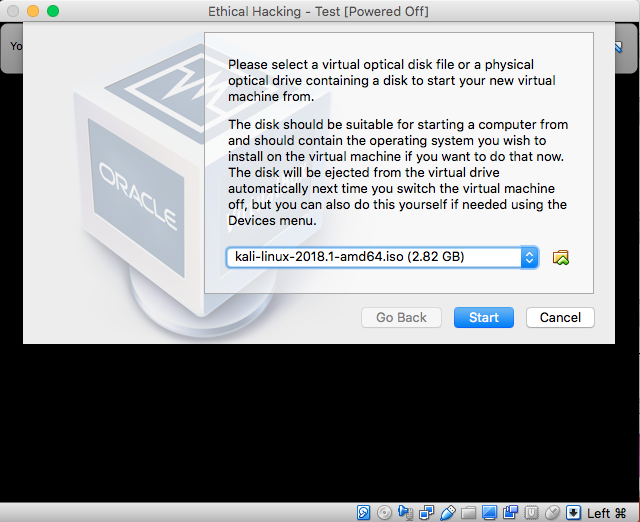
The next step is to select a virtual optical disk file as you can see in the picture below.
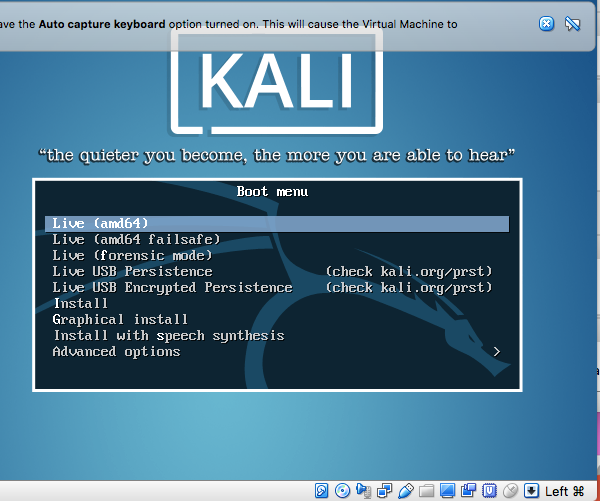
After that, you will see a new page like in the picture below, to continue the installation, you can choose graphical install.
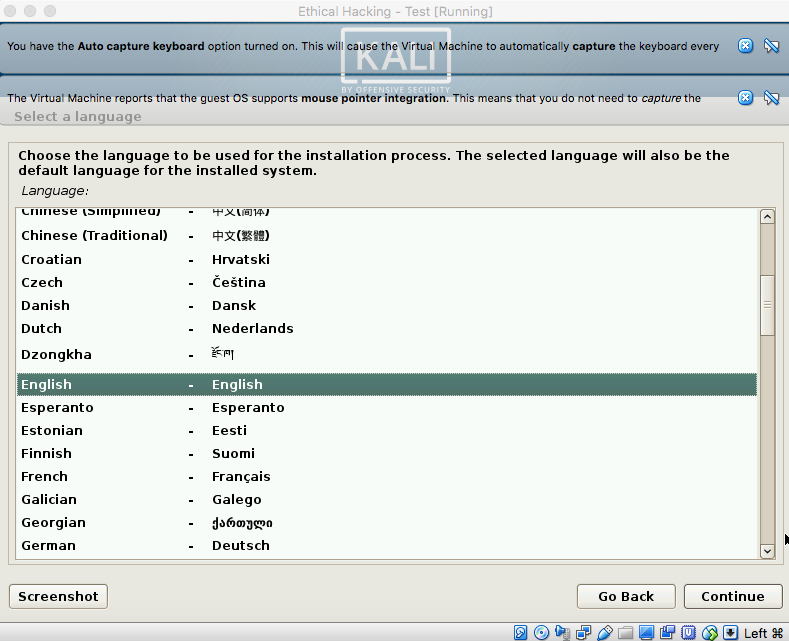
After that, you have to choose the language as you can see in the picture below.
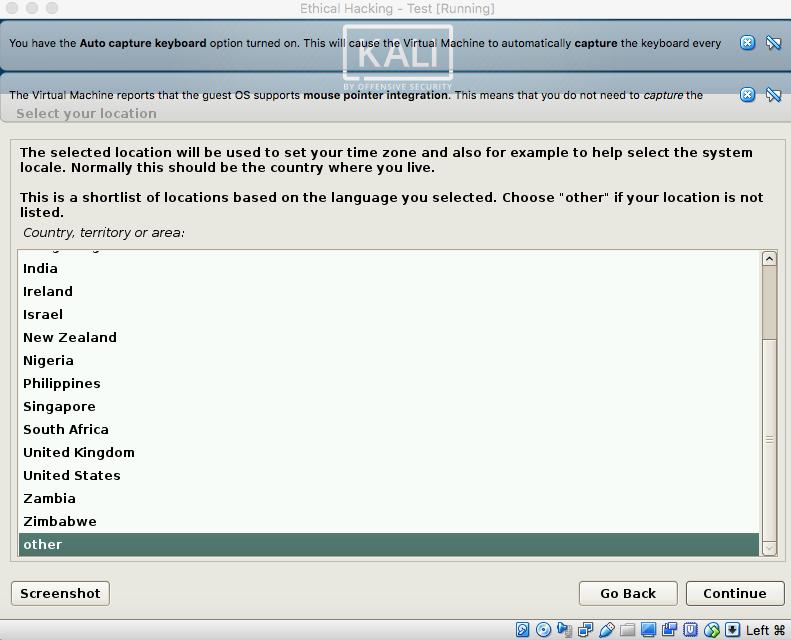
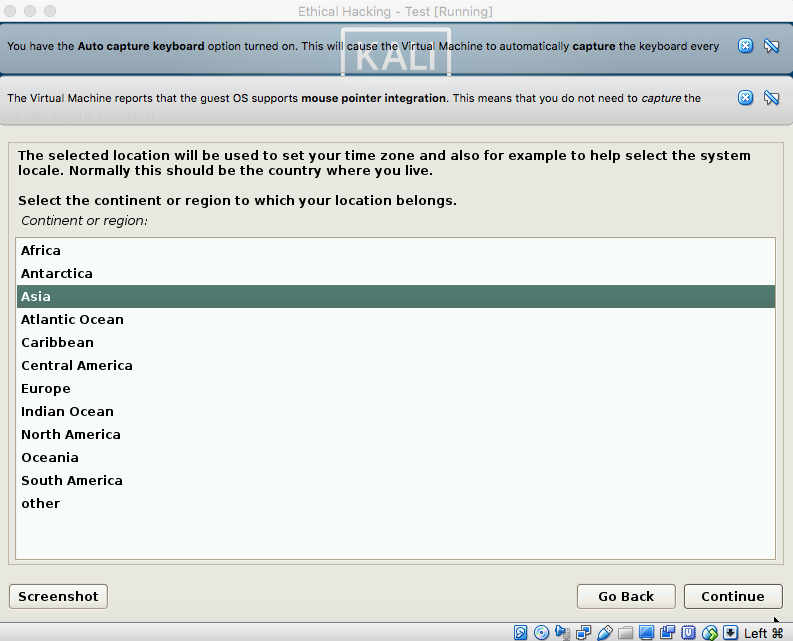
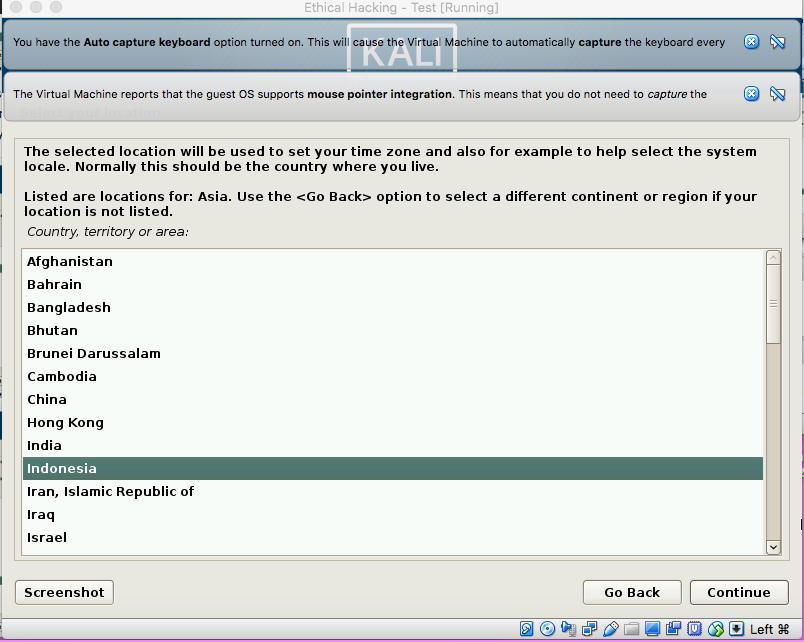
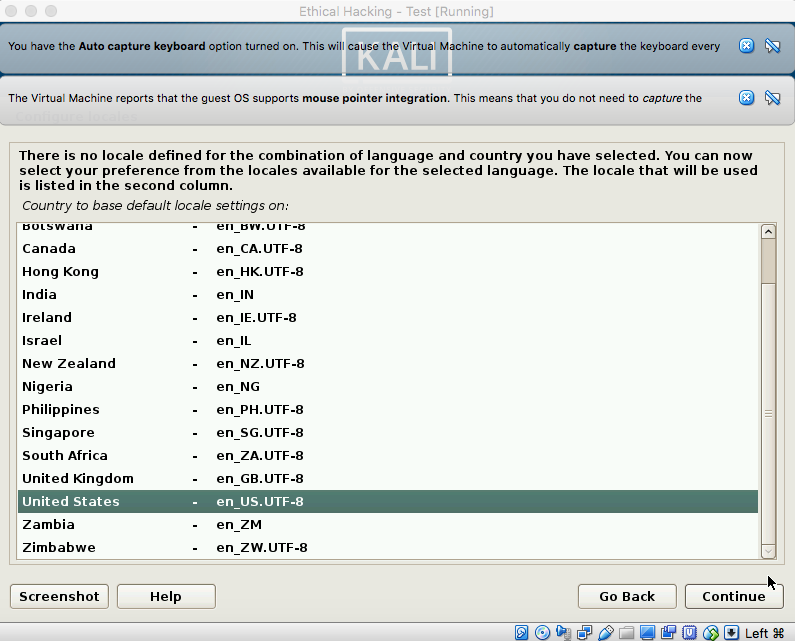
After choosing the language, you have to choose the country.
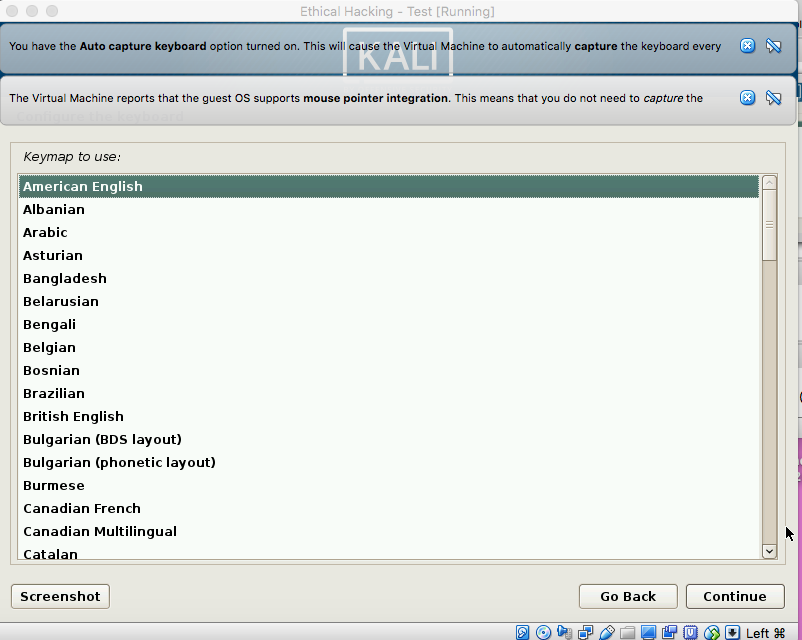
After choosing the country, you have to choose the keyboard layout, then click continue to go to the next step.
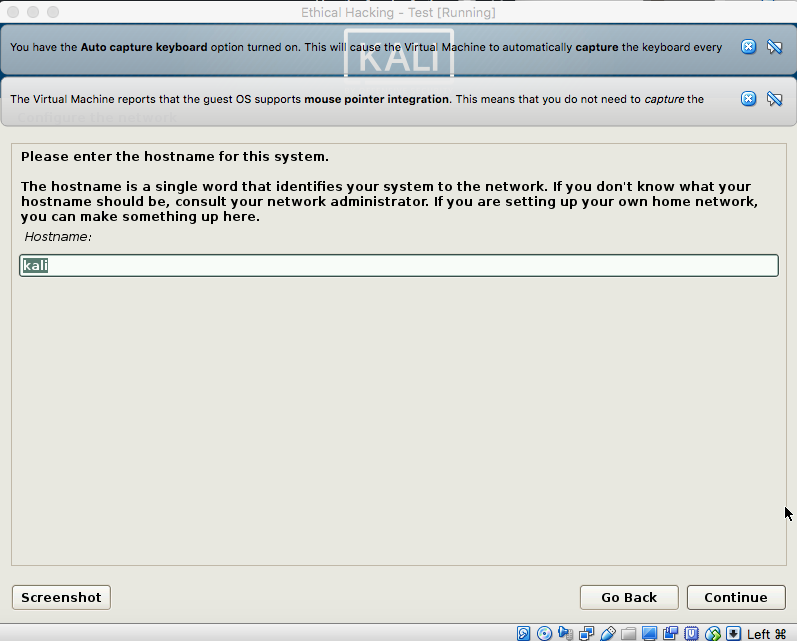
The next step is, you have to enter a host name, I just enter “kali” for the hostname.
And you have to input the domain name, but because I do not have the domain, so just leave it as a blank space, and continue to the next step.